Disclaimer: The circuit in use here came from GreatScott: YouTube video related to this project: https://www.youtube.com/watch?v=Fj0XuYiE7HU
Thanks for the circuit GreatScott, it really works well! The awesome find of the lipo (LI-ion, sorry, Thanks to Jenny from Hackaday for pointing out the oversight in battery chemistry) protection chip with 2.9v cutoff – ruined way too many cells with the DW01’s 2.5v!
So, down to business: We all know the frustration of trying to run portable electronics, whether handheld Pi’s or trying to use a cheap reverse-lcd as an extra cheap DSLR Monitor (My primary use case for making these – the one linked runs off 5v input too, perfect for Pi projects etc too) from Lithium cells:
- You need to provide a charger circuit to safely charge using the correct CC/CV charge cycle
- The cell needs to be protected against shorts, overcharge, overdischarge, etc
- Boost the voltage to (usually) 5v – most widgets work with at least 5v or up.
In the past I used to use Protected Lithium Cells (Way more $$$ than salvaged or unprotected cells) and stick in both a MT3608 Boost Circuit and a TP4056 charger circuit. Bulky, but it did the job (most of the time). Later on, China started adding protection circuits on the TP4056 boards. But the circuit was based around the DW01 protection IC which only cuts off the cell at 2.5v discharged level. Not good for the life of your cells ):
So couple months ago, GreatScott made a video where he designed a circuit. Nothing too innovative, just the same TP4056 charger the MT3608 Boost combined on one PCB. He did add a Lipo (Correction Li-ion) protection circuit though, initially using the same DW01. But then, the Aha moment from this video, he found a footprint compatible IC the FS312F-G – which is set at 2.9v! Way healthier for your cell’s longevity!
First of all I had to redraw all his work in Eagle (As I wont be using a cloud based service like EasyEDA for obvious reasons) and then order the PCBs. I added two boost circuits since I had the board space, as I can imagine needing dual voltages at some point (for example if that reverse LCD needed 12v and the Pi needed 5v – i could run both off one board.
I decided to make the form factor fit onto these nice 18650 cell holders, as around here 18650s can be had for free from salvaged laptop batteries quite easily.
Here’s the Eagle files: Feel free to go make your own!
https://drive.google.com/open?id=1W-qs7dp2oDAhGEn1Lan2roVbdYYN5YTz
If you don’t like Google Drive, here’s a Github repo too https://github.com/openbuilds-engineer/LIPOManager
Update: Sunday 27 May: Featured on Hackaday: https://hackaday.com/2018/05/27/a-li-ion-booster-pack-done-right/ so lets add some more pictures taken since the original article:
Using it to power the reverse LCD mentioned above to run a RetroPie rig

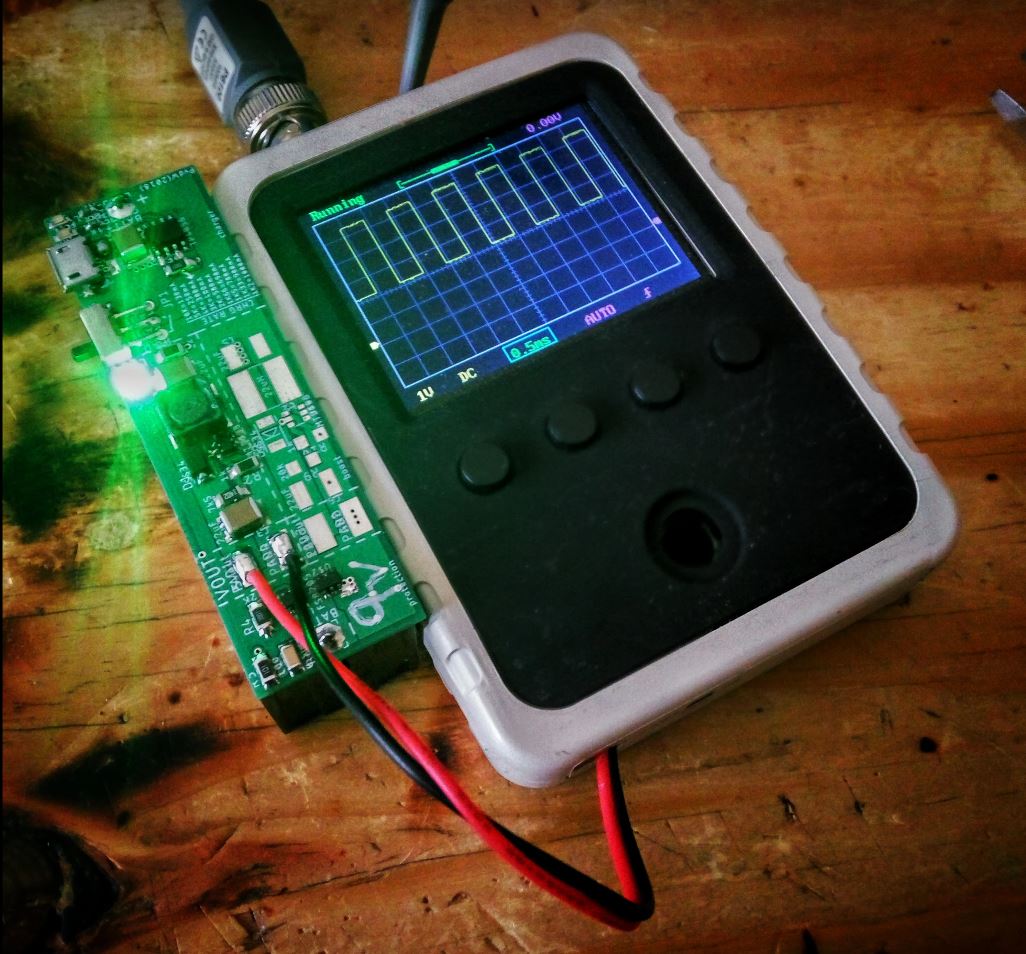
And, I used it to power the super awesome $30 DSO150 Pocket Oscilloscope by just changing the resistors on the MT3608’s output, to set its output voltage to 9v